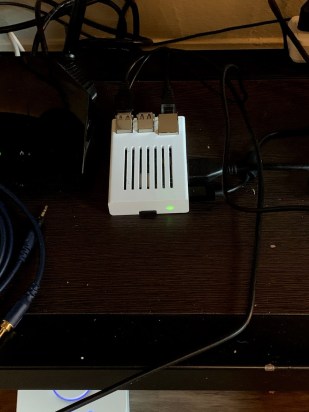
I chose to take the assessment but I also used created something with my Raspberry Pi. I purchased the Raspberry Pi 3 Model B+.
I first 3D printed a case for the Pi from one of the more popular models on Thingiverse.
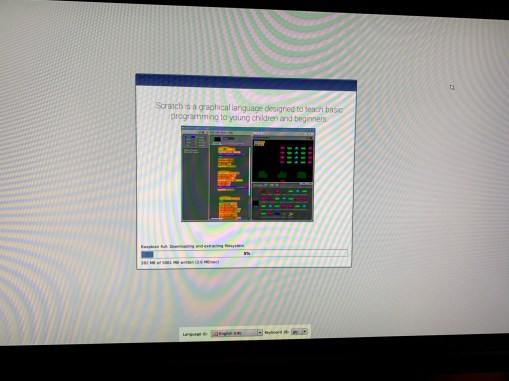
My goal was to create and run Minecraft server on the Pi. I started off by using NOOBS to install Raspbian onto the Pi. I then tried to follow this guide to install all the necessary tools to run the server.
I ran into some trouble trying to install Java 8. The repository for the install could not find the necessary packages to install Java. I then spent a few hours trying to install Java through various guides that ultimately did not work. I then found a different guide that ran a script that installed all the necessary tools and helps with the setup of the server with optional features such as processor and storage overclock, automatic start at boot, automatic updates at set times, optional daily restarts. I also had to install a networking program because my apartment’s ISP does not support port forwarding. I used ZeroTier One, is similar to Hamachi back in the day but is web-based and controlled through the browser.
Raspberry Pi Minecraft Server Script w/ Startup Service 1.14.4
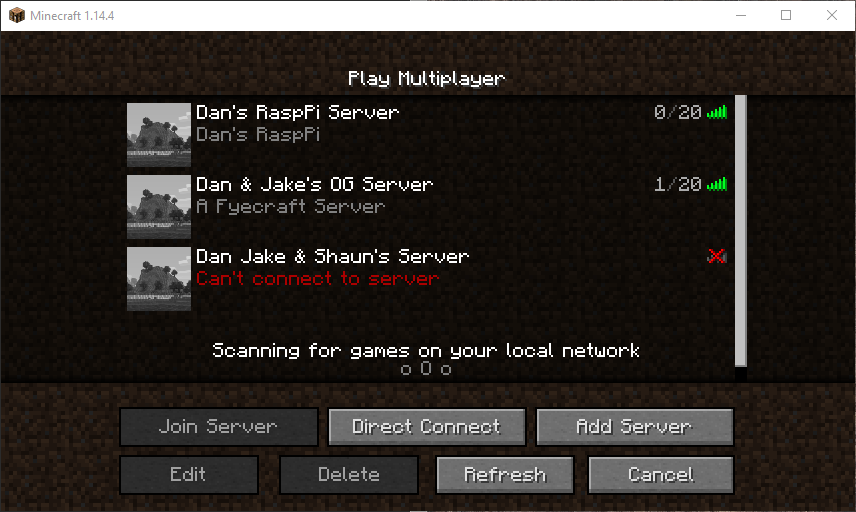
I then transferred a world that I had been working on through USB to the Pi and ran the server.
It did not run well.
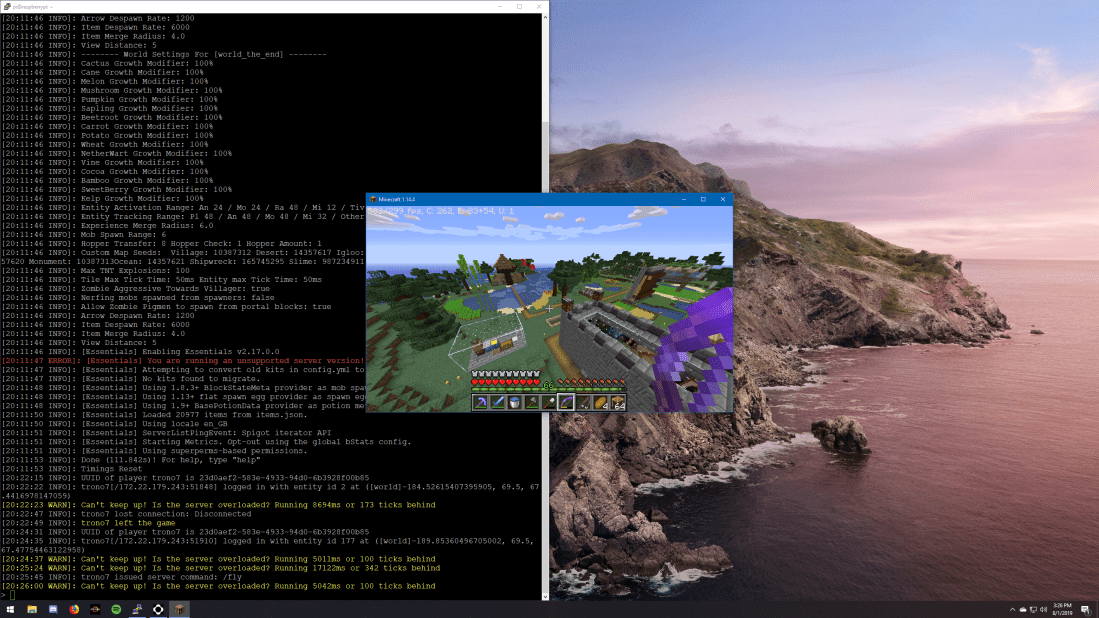
The world I had transferred was quite large and the server was often having trouble keeping up and was several ticks behind.
The guide recommended a installing Raspbian Lite to have more available RAM for the server. I did not realize initially that it does not have a built in GUI so I was to do all the setup through terminal commands. This had an unexpected benefit to the project because the terminal made it very clear that my Pi was being undervolted due to not having a strong enough power source. I was only using a 5 watt brick used to charge my phone. I then went out and bought a 12 watt brick at around 3 am because why not. I then installed ZeroTier again, connected to my network, and ran the script to install and run the server. I connected to the server and while it was still a little laggy, it wasn’t a terrible experience. It was actually quite responsive at times. I had a friend also join and we decided to blow TNT everywhere to see how the server would respond. To better execute this project, I think I would use an external SSD or a fast USB 3.0 drive to install the OS on and I would definitely upgrade the Pi to the Raspberry Pi 4, at least the 2GB version.
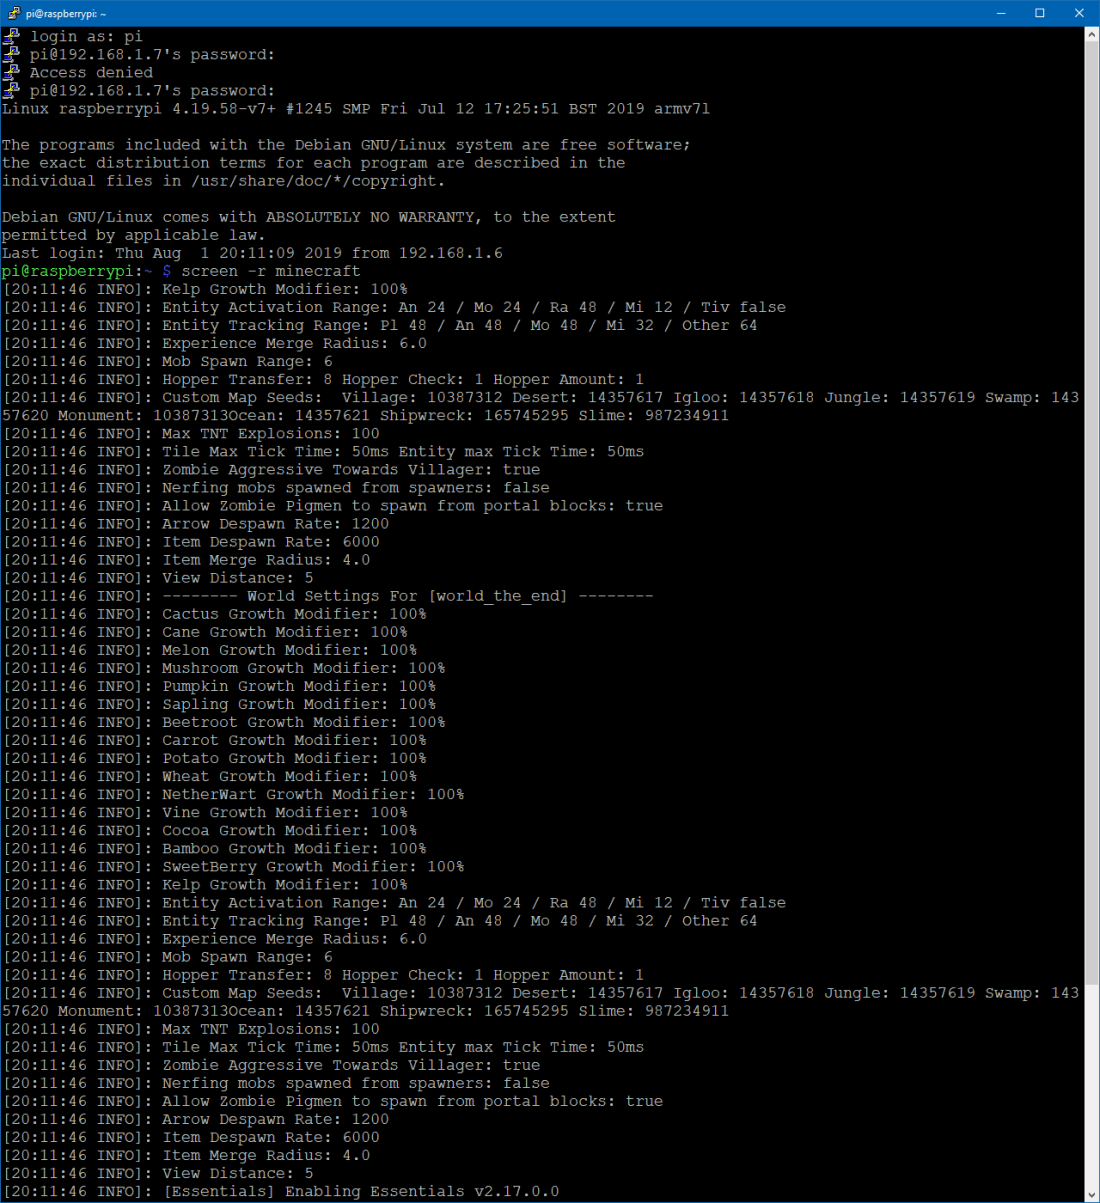
I then downloaded PuTTY on my main computer and enabled SSH on my Pi in order to run the Pi headless. Here is the terminal used to login and boot the server.